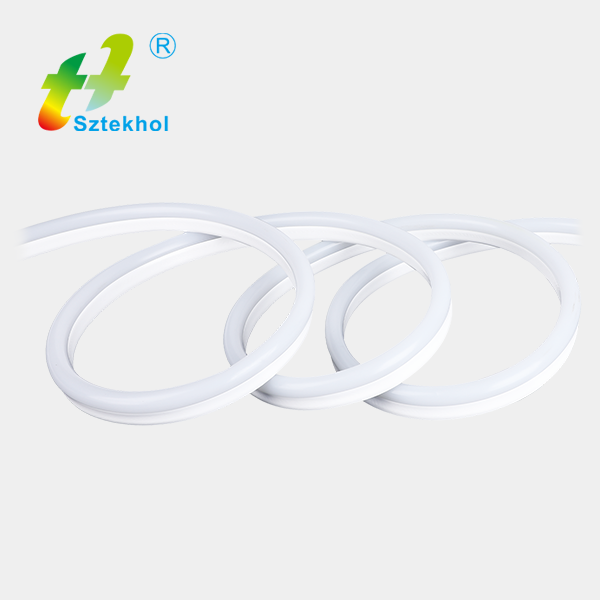
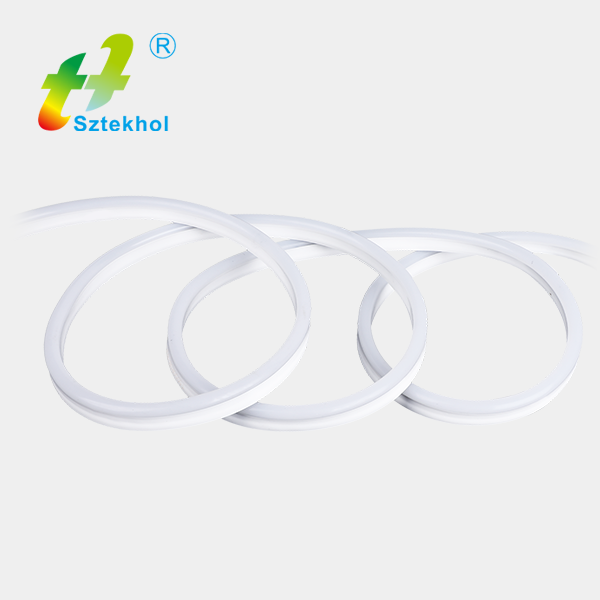
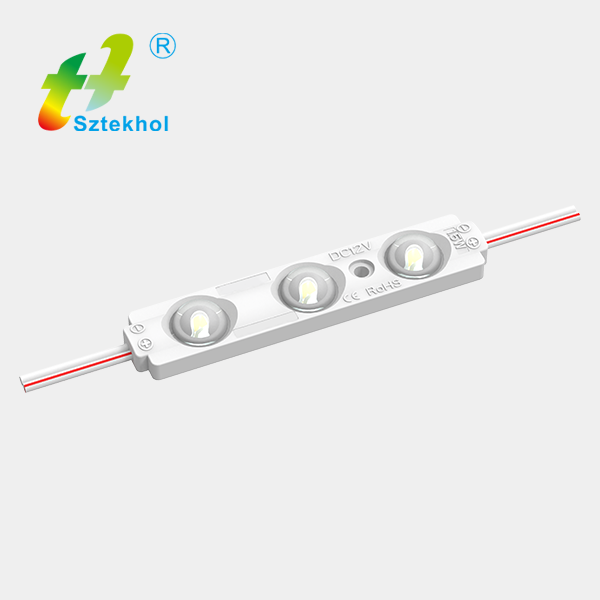
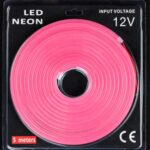
The installation process of LED neon light strips requires certain steps and precautions to ensure their normal operation and extend their service life. The following is an installation guide for LED neon light strips:
Installation steps
Test the light strip:
Before installation, first connect the plug of the LED flexible neon lamp to test whether the light strip can be lit normally.
Prepare for installation:
After it can be lit normally, use tools such as wooden sticks to stand up the entire roll of light strips to avoid direct pulling and causing the main line of the lamp body to break.
According to the length requirements of the installation environment, cut the light strip at the place where the scissors mark is printed to ensure that each unit can be lit normally.

Fix the light strip:
Indoor installation: Usually, the LED light strip is affixed with self-adhesive 3M double-sided tape on the back. You can directly tear off the sticker, fix the light strip at the location where it needs to be installed, and press it flat with your hands. If the light strip is too long or needs to turn a corner, you can cut the light strip. Note that every 3 LEDs can be cut and used separately.
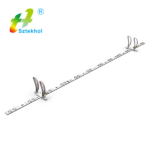
Outdoor installation: Because it will be exposed to wind and rain, the card slot fixation method is often used. Where cutting and connection are required, the method is the same as indoor installation, but waterproof glue is required to consolidate the waterproof effect of the connection point.
Power connection:
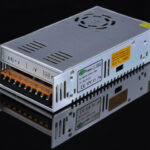
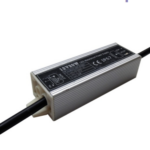
Choose a suitable power supply according to the voltage and current requirements of the light strip.
When connecting the power supply, make sure that the positive and negative poles are correctly connected to avoid short circuit or reverse connection.
If multiple light strips need to be connected in series, make sure that their specifications and voltages are the same, and the total length of the series connection does not exceed the maximum permitted length.
Waterproof treatment:
If installed outdoors or in a humid environment, the joints and connecting parts need to be waterproofed, such as silicone.
Safety check:
After installation, check again whether all connection parts are firm to ensure that there are no exposed wires or connectors.
Power-on test to ensure that all light strips can be lit normally and the light direction is consistent.
Precautions
Never power on the LED light strip without removing the packaging or stacking it in a ball.
When cutting the light strip, only cut it at the place where the scissors mark is printed, otherwise the unit may not light up.
When connecting the power supply or connecting two sections of the light strip in series, make sure that the exposed part of the wire is clean and burr-free, and use a male pin to connect to avoid short circuits.
The end of the light strip must be covered with a PVC tail plug, and then tightened with a clamp, and then sealed around the interface with neutral glass glue to ensure safety.
If a power cord with an AC/DC converter is used, it should be powered on after the power connection is completed, and the positive and negative poles should be connected correctly before it is put into use.
Following the above steps and precautions can ensure the correct installation and safe use of the LED neon light strip.

